Dave and Lynn have traveled to 6 continents and 77 countries. Dave reports on their travels with comment and photography.
Thursday, June 20, 2013
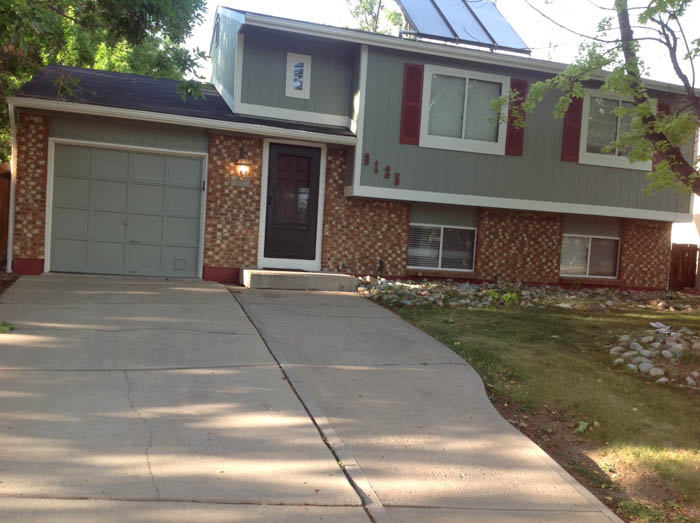
My daughter, Heather, has just painted her house in Colorado. She sent me a few iPhone photos of the job. But, like her Dad, the house was caddywampus in the pictures. So, I thought that this would be a good opportunity to demonstrate the Lens Correction Tool in Lightroom 5. Here is the process - Select the photo in the Develop Module. Then select "Lens Correction" - Next click on "Enable Profile Correction" and "Remove Chromatic Aberration" You will instantly see changes to your photograph, but you are not done yet. Now select "Level" at the bottom of the same panel..and Voila, your photo should be perfectly level. See my Before and After shots here.


No comments:
Post a Comment